11/9/2013 - Banjo Boys - Chapter 26
After several weeks of various distractions -- personal travel, family commitments, and/or lousy weather -- the Banjo Boys met again today to work on their latest projects. We had two goals in mind. First, we wanted to figure out how to apply an edge to the wood rims we had acquired for the current set of banjos.
We had decided to use wooden rims in lieu of the Buick turbine rings to build more traditional banjos. After careful research, we concluded that purchasing finished rims made more sense than trying to laminate them ourselves (although I wouldn't rule that out for some future build). We decided to buy the crafted rims from Rickard Banjos in Aurora, Ontario, Canada. I bought a curly maple rim, while Clint bought a cherry rim to match the cherry blossom banjo's neck. The quality of the Rickard products is exceptional.
On Clint's rim, he wants to put an ebony edge that will align with an ebony heel cap on the neck. In addition, we both had decided to glue a Honduran Rosewood strip around the edge of the rim where the leather head is stretched. This creates a wooden "tone ring" that in cross section looks like this:
The challenge was to figure out the most efficient geometry to use for these edges to conserve as much wood as possible yet still be something that we could fabricate with the tools at hand. We finally decided to make each edge out of eight wedge shaped sections. They needed to be wide enough to cover both the outer edge and inner edge of the circular rim. After working out the geometry, we set the saw angle at 22.5° and cut all of our wedges, both ebony (for Clint's banjo) and Honduran rosewood (for both banjos). We carefully marked the rims with 1/8 sections so we could align the pieces being glued. We then proceeded to glue the sections one segment at a time.
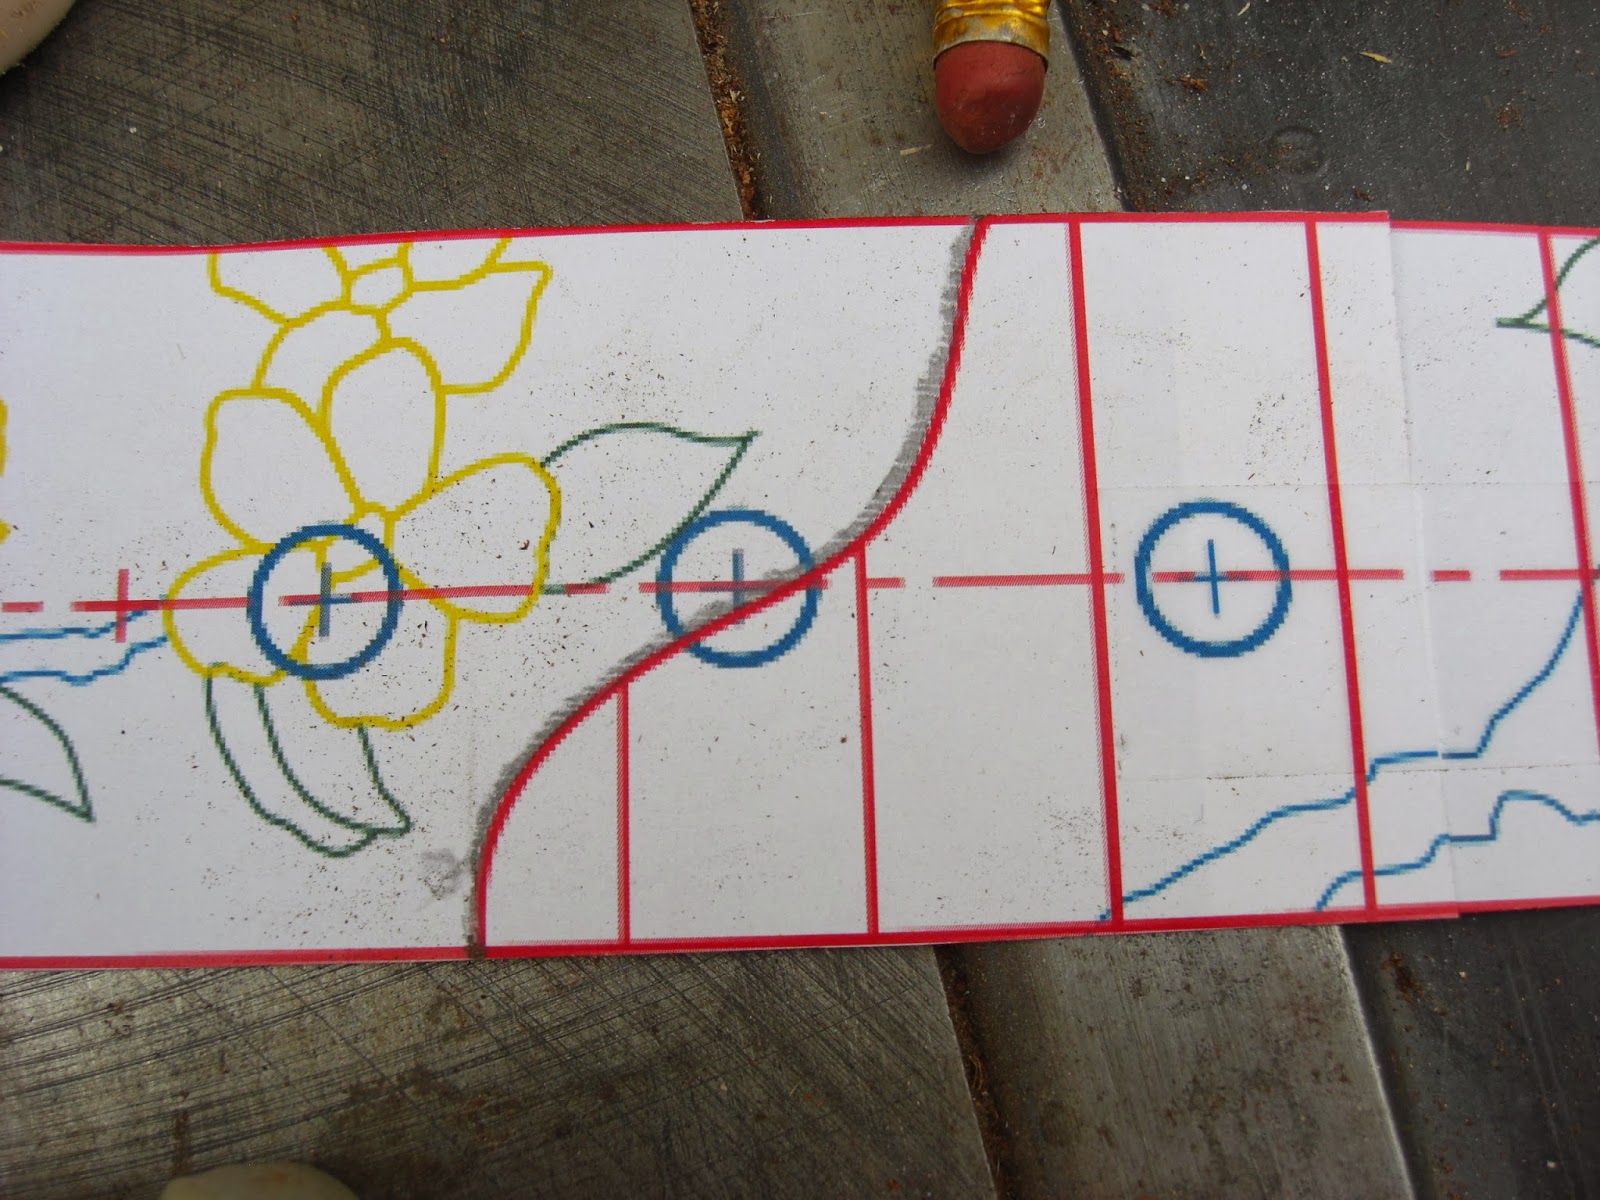
When we were done gluing, we set the rims aside so we could begin routing out the ogive cutout that is placed in the area of the 17th fret. It will look like this detail on our drawing:
I had Clint set up the router table and then make a guide template that matched the shape of the curved line on the drawing. We determined where the guide had to be located in order that we could rest one corner of the inverted neck against it as we fed the neck into the spinning router bit. This is one operation that we didn't want to mess up, since Clint had so many hours invested in his beautifully inlaid neck. Here's a sequence of pictures of the process:
After repeating this routing process a couple of dozen times, chewing away a little more wood each time, the residue left behind can be leveled with sand paper to look like this:
After finishing with the ogive work, we began carefully removing the outer overlap of the rim work we had done. After a lot of careful cutting and sanding, we were able to get the outer surface of the edge material flush with the outer surface of the rim itself. We haven't quite figured out how we're going to approach the cutting and sanding of the inside surface of the newly-glued edge pieces.
We put away our tools and cleaned up the shop and called it a day. We were pleased at the results.
Sunday, 10 November, 2013
Addendum to Chapter 26 -- Today I decided to see if I could complete the cutting and smoothing of the inside of the tone ring. I decided to first cut the excess wood away with a coping saw, trying to leave about 1/16" along the glued surface. I was very careful to avoid scarring the inside of the maple rim.
Once I had done this, I used a straight router bit that has a tiny ball bearing mounted on it. By rolling the bearing along the surface of the curly maple rim, the cutter removes all the Honduran rosewood that extends beyond that surface. The result was very satisfying.


That's looking really nice, Bob and Clint. Keep up the good work!
ReplyDelete